Easter is just a few days away, and making some fun crafts with your kids will get the family in the Easter spirit! Mr. Clean Can has his favorite Easter crafts to share with you that are easy to put together, and your kids will love them!
Easter Egg Suncatchers
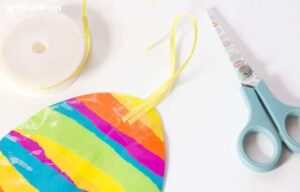
You’ll first want to cut the tissue paper into strips. Once this is done, grab your contact paper and secure the strips of tissue paper on the contact paper in whatever order you desire! You have full creative freedom on how you lay the different colors on the paper. Once this is done, lay another sheet of contact paper over top, and cut them into an egg shape! Cut some ribbon, secure it to the top of your eggs, and voila! You now have some beautiful Easter egg suncatchers to hang in your window!
Toilet Roll Chicks
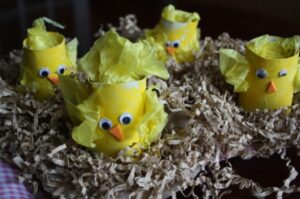
Once this is done, the kids can start painting the rolls yellow. Once dry, secure the googly eyes and cut the orange paper into little beaks to glue on. Crumple up the yellow tissue paper to look like wings and feathers, and glue this on as well. You could also opt for actual yellow feathers to glue on, it’s really up to you and the kids! These little Easter chicks will be a fun addition to your Easter decor!
Classic Dyed Easter Eggs
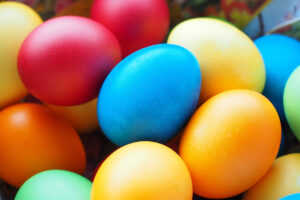
Once your colors are set up, submerge your egg and turn it frequently so it will be colored evenly. You’ll want to leave the egg in for about 5 minutes, but if you want the color darker, leave it in for longer. Once you’re ready to pull your egg out of the water, lay it on a rack to dry, and there you have it, a classic dyed Easter egg!
Easter Bunny Paper Plate
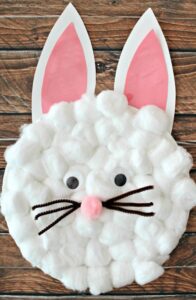
Start by gluing the cotton balls all over the paper plate to create the “fur” of the Easter Bunny. You’ll then cut the white and pink paper into the shape of the bunny ears and glue these to the plate. Glue the googly eyes, pink pom pom as the nose, and the pipe cleaners as the whiskers, and you’ll have your very own Easter Bunny!
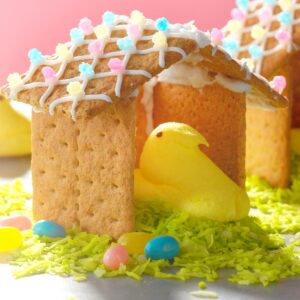
Peeps Houses
Instead of gingerbread houses, for Easter, you can make Peeps houses! You’ll just need graham crackers, Peeps, frosting, and candy for decorating the house.
Once the houses are assembled, the kids can use the frosting and assorted candy to decorate the houses however they like! Once the houses are complete, just stick a Peep in the house, and set them out for everyone to admire!
